VSCode+Docker上でStreamlit開発環境を構築すること目標とします。
VSCodeのRemote – Containersエクステンションを使うことで、ブレークポイントを張ってデバッグできますので大変便利です。
環境
Windows 10 Pro
Docker Desktop 4.1.1
Visual Studio Code 1.62.2
手順概要
- 作業用フォルダの作成
- Dockerfile作成
- コンテナでフォルダを開く
- Streamlitデモプログラムの起動
- Streamlitプログラムの開発
作業用フォルダの作成
作業用のフォルダを作成し、Visual Studio Codeで開きます。
今回は、D:\Streamlitを作業用フォルダとします。


以下のようなメッセージが出てきたときは、Yes, I trust the authorsを選択します。

Dockerfile作成
作業用フォルダをVisual Studio Codeで開いたら、New Fileアイコンをクリックし、Dockerfileというファイルを作ります。


以下のコードをDockerfileに入力し、保存します。
FROM python:3.7.4

RUN pip install streamlit
コンテナでフォルダを開く
Visual Studio CodeにRemote – Containersエクステンションをインストール します。
すでにインストール済の場合は、この手順をスキップして先に進んでください。
画面左端のExtensionsアイコンをクリックし、Remote – Containersを検索し、Installします。

インストールが完了すると、画面左下に緑のアイコンが出てくるので、それをクリックします。

画面上部のコマンドパレットからReopen in Containerを選択します。

続けてFrom ‘Dockerfile’を選択します。

Streamlitデモプログラムの起動
コンテナでフォルダが開かれたら、画面下部のTerminalで以下のコマンドを入力し、Enterを押します。
streamlit hello
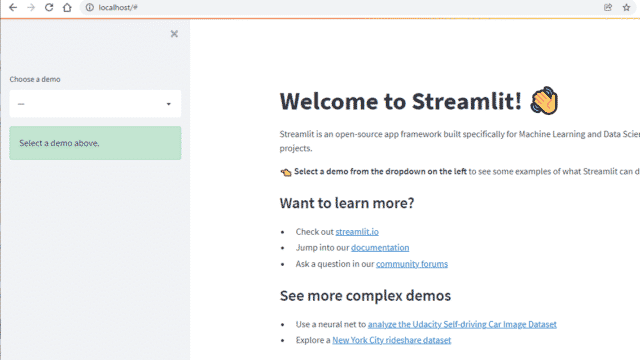
Streamlitが起動したら、Open in Browserをクリックします。

Streamlitのデモ画面がブラウザで見れれば環境構築は完了です。

Ctrl+Cでデモアプリを止めます。
Streamlitプログラムの開発
最後にHello World!とだけ表示する簡単なプログラムの開発をしてみます。
app.pyというファイルを追加し、ファイルの中身を以下のようにして保存します。
import streamlit as st

def helloworld():
    st.header("Hello World!")

if __name__ == "__main__":
    helloworld()
Terminalに以下のコマンドを打ってEnterを押します。
streamlit run app.pyブラウザでhttp://localhost:8501にアクセスし、以下のように表示されることを確認します。

Ctlr+Cでいったん終了します。
次に、ブレークポイントを張ってデバッグしてみます。
ブレークポイントを張るためにはPythonエクステンションが必要なので、これをまずインストールします。
Docker環境にインストールする必要がありますので、ホストPCのVSCodeにPythonエクステンションが入っていても、この作業が必要です。

Pythonエクステンションのインストールが終わったら、app.pyを開き、ブレークポイントを置きたいところの行番号の少し左をクリックします。
ブレークポイントが設定されると、赤いマークがつきます。
赤いマークをクリックすると、ブレークポイントを外すことができます。

app.pyを開いた状態で、画面左のRun and Debugアイコンをクリックします。

Run and Debugボタンをクリックし、画面上部中央のコマンドパレットのPython Fileを選択します。

プログラムがスタートし、ブレークポイントを設定した行で止まることが確認できます。

今回はデバッグの必要がない単純なプログラムでしたが、複雑なプログラムをデバッグするときには大変便利な機能ですので、ぜひお試しください!